

Feels like weeks getting to the top of the patio step #9 today I made it! Over 36 stones make of these double stack stairs. I spent a lot of time since my last post on the 23-24th day of plumbing. I've added 3 more steps. Lots of low voltage sleeves on each step. Built up the sides at the top and by the porch. Brought in more back wall stone and gravel. Removed a great deal of empty pallets and oil tanks. Removed and replaced my stone splitter blades to newly HARDEN BLADES. Hosted first Rescheduled Spring workshop. Over the weekend 8 interest homeowners and tradesman attended the Fundamental Workshop.

Feels good to have the steps completed. Everything from the lower - upper patio and the walls, all revolve around the steps. They set the pace for the remainder of the build. The benefits of a double stack stone step are: 1) Overhang can act as a drip edge, add design and depth, gives a great place to down light. 2) Unlimited design choices as to how to place them giving more or less tread, changing the direction. Some of these steps have up to 20" under overhang (with the upper thread hanging over by 2 3/4"). 3) Low voltage lighting can be sleeved to run threw the joints on the bottom of each tread. 4) The size stones ranging from 3-4" give the ability to use several cutting methods as seen below. Feather and wedge, snapping, or gas saw (most saws are 14" which give you a cutting depth of less than 5".) 4) Great deal more permeable than a solid tread. 5) Have far more character the a solid tread would. Just to name a few that come to mind.
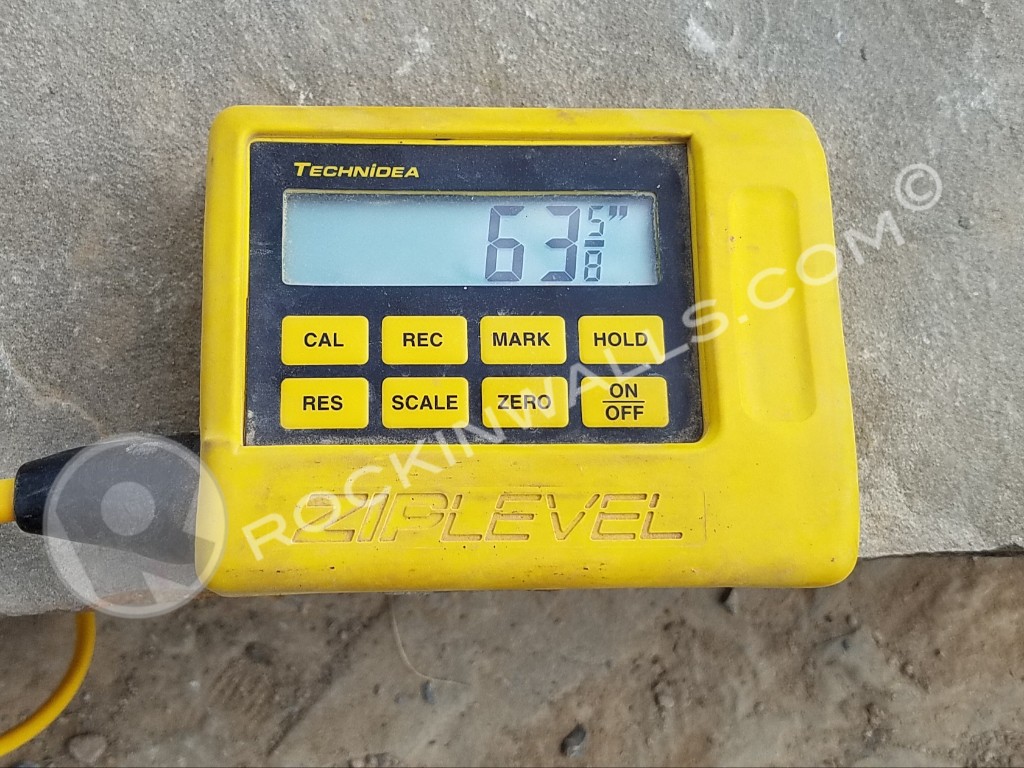
9 steps @ 7" rise with a pitch on each to keep the water off of them. 9x7"= 63" pretty amazing for natural stone +5/8" (above). Ya buddy ~ That's what I'm talking about ~ BOOYAH!!!!

Loving the sweeping curved wall coming into the steps. Now time to get back to wrapping these lower walls up.


Danananana Ditch Witch! Always there when I need it!

I sure love my Zip Level Pro 2000 for saying on track.


The one day it was all feather and wedging. I could use the gas saw but I'd have to clean up each of the sawn faces. Ya no I'll go with the old school method works just as good if not better sometimes. Plus a much more traditional method.


One of the earlier days I was having a bunch of fun snapping the blue stone. So hit or miss if it works. This day I'd say I had a 65% success rate. The splitter can handle up to 36" wide x 11" high stones.


Time to replace the blades on the stone splitter. Since this was a custom splitter the my fabricatore didn't send the blades off to be Hardened. Thankfully they had made me a spare set. So I took them to my local machine shop Maple Grove Machining. Who took got them to the right folks who heated the metal up to the correct temps. So far everything is holding up well!

Rachel the client's daughter had come to give me my daily snacks. When I tasked her with holding the socket driver on the opposite side of the lower blades. What a big help-thanks Rachel.

The heated blades in the box.

The removed blades not so happy. If the heat treated blades hold up I'll have the shop up the street get them back to sharp and send them off to be heated also.

Booyah for sure!! Going up and down those steps feels soooooooo good!! The view of the steps from the street is stunning! Rachel was thrilled to be part of the blade replacement team!! 😃
ReplyDelete